Monday, March 24, 2014

MINI CHEESECAKES

We NEEDED more sweets in the house, and thought maybe I should try 
something else besides cookies. I have a temporary house guest & I need to 
be a good host and make her fat. I wasn't 100% sure what I was going to
bake so after a lunch date to the Cheesecake Factory & not 
buying any cheesecake I decided to make mini cheesecakes!!
I got this recipe from the inside of a cream cheese box.


Ingredients:

CHEESECAKE:
1 cup of Graham Cracker crumbs
3/4 cup plus 2 tablespoons of sugar
3 tablespoons of butter, melted
3 packages of cream cheese, softened
1 teaspoon of vanilla extract
3 eggs
1/4 melted chocolate chips

SAUCE:
1 cup of raspberries
1/3 cup sugar

Directions:

Preheat oven to 325 degrees.

Crush the Graham crackers, I used a rolling pin.


 You will need enough to fill 1 cup.


 Mix the graham cracker crumbs with 2 tablespoons of sugar & the melted butter .


Once that is done press the mixture onto the bottom of your bakeware. 
Im using mini springform pans.


In a separate bowl beat together the cream cheese, sugar & vanilla
until well blended.


Add the eggs one at a time, mixing on low after each one.


Now add the melted Chocolate chips...yum.
(I also tossed in some unmelted ones)


Take the cream cheese mixture & spoon it on top of the crusts.


Put in the oven & bake for 30 minutes.
Let them cool completely and then put them in the fridge for 2 hours.


While the cakes are cooling in the fridge, make your berry topping.
On low heat mix together the sugar and raspberries. 


Let it come to a boil while stirring, turn off the heat and let it cool down.
It should look like jam.


Once your sauce and cakes have cooled down, 
its time to eat.


Taste Testers:

5 out of 5 stars
✭✭✭✭


LAUREN: Time to give myself a pat on the back... I would say I nailed it. Like da dang dang.
It was really good...I want more. 

CJ:These were pretty awesome.  The raspberry sauce was good and tart.  And the chocolate chips were a good addition.

Monday, March 17, 2014

PINCH ME

Just kidding, if you do it I will kick your arse.
For real.
I decided to make a yummy Irish meal for my friends but was really wanting to 
stay away from the ol' corned beef & cabbage.
After scouring the inter-web I found a hot pot recipe
called Dublin Coddle.

Meat & Potatoes 


Ingredients:

8 medium sized red potatoes
2 large onions 
4 sausages
8 strips of cooked thick cut bacon
2 1/8 cup of water
1 chicken, beef, or ham cube
olive oil
Fresh parsley
salt
pepper


Directions:

Preheat oven to 350 degrees

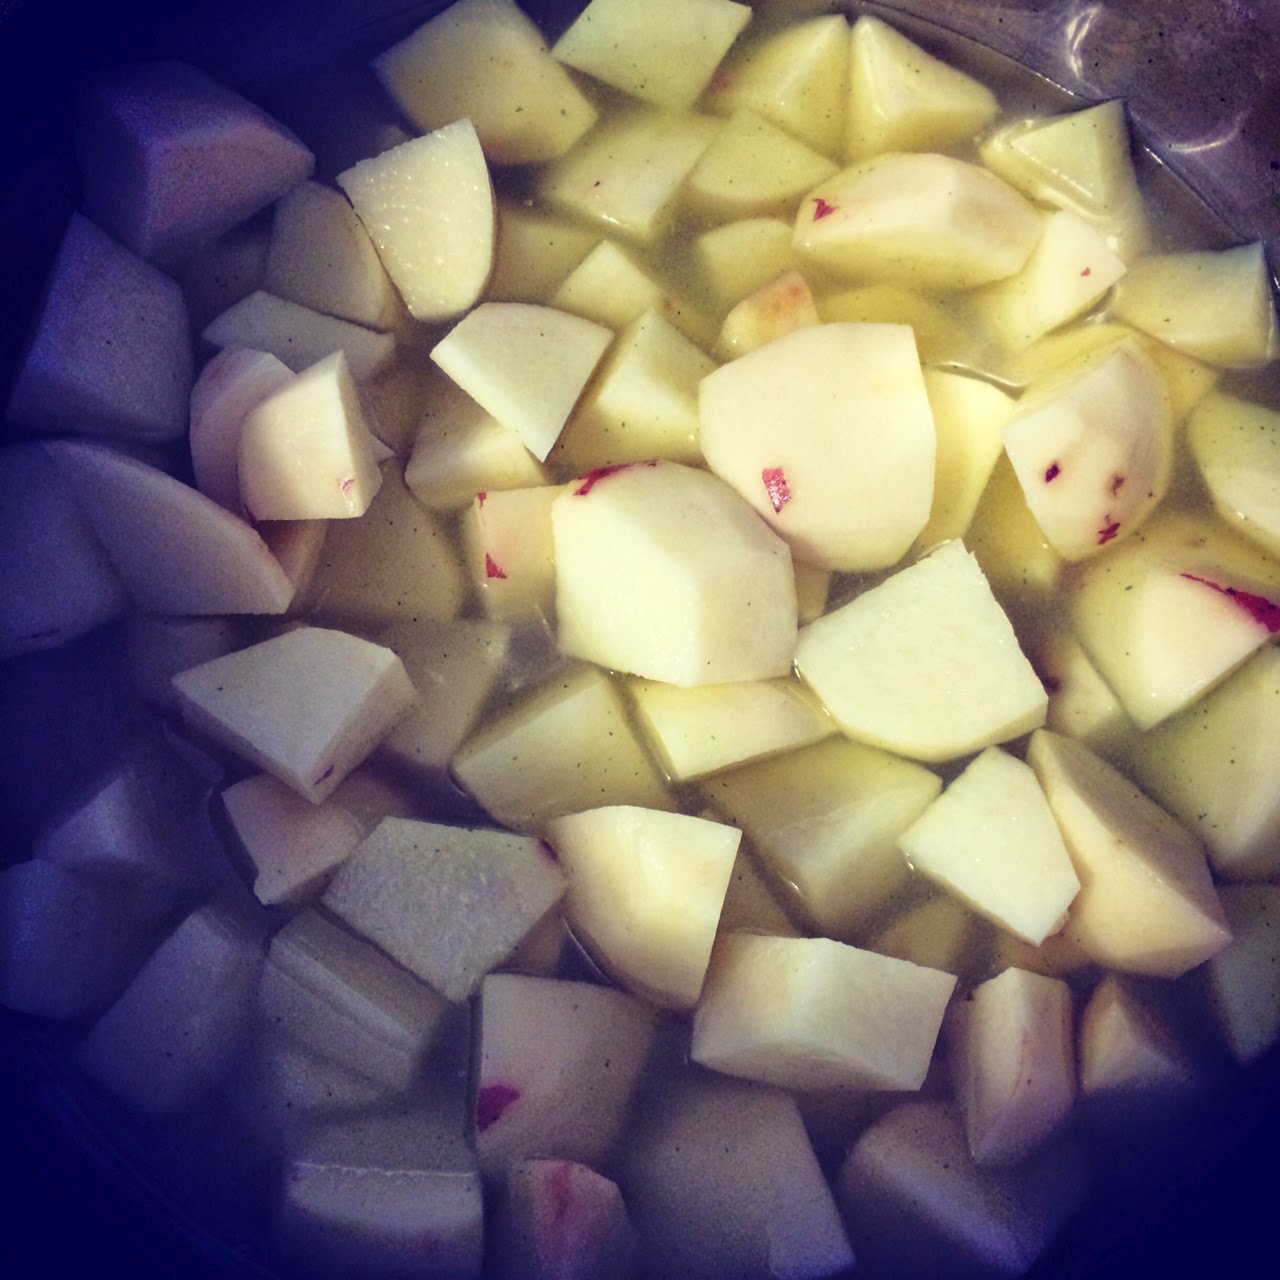
Peel and quarter the potatoes & put to the side.


Boil the water and the stock cube.
I bought this broth base and used 2 teaspoons of it, so much
better than the stock cubes.


After it comes to a boil and is mixed well turn off the heat.
To save space & speed up on cooking time I threw the potatoes into the broth & let them sit in there until I needed them.


Then take your sausages and brown them on all sides.


I ended up chopping the sausage into large pieces so they could 
be browned all over, once finished put those to the side.

Now take the onions & slice them into large rings.


Put a small amount of olive oil in your pan & cook the onions until
almost translucent. 

Once everything is finished cooking assemble them in an oven safe 
dutch oven, or something similar.


Layer the ingredients: onions, sausage, cooked bacon, potatoes, parsley, salt & pepper.


Once all the ingredients are in the pot pour the chicken stock over the meat & veggies.

Cook it in the oven for around 2 hours or until the potatoes are soft.


3.5 out of 5 
✭✭✭⭐︎☆

Taste Testers:

LAUREN: I was skeptical of this dish, I was thinking everything would be the same soggy consistency. BOY was I wrong. The top layer especially was crispy, the bottom layers were not as crispy but were still good. The flavor was right on, none of the ingredients overpowered the others. Nice balance. We ate it with potato bread, which made it even better. If this is what they eat across the pond, send me over.

CJ:  This was super hearty with really great broth.  It was delicious with the potato bread.  I love bacon, but it took on sort of a long, soggy, and limp characteristic that could maybe have been improved by chopping it smaller.

MARY: I ate every bite, I licked my plate clean.

NATHAN: The potatoes were spot on in texture along with the sausage chunks. Perhaps the bacon could have been sprinkled on top to add more of a crunch and bring out the flavor more than baked along with the dish.

Tuesday, March 11, 2014

BY LAUREN FOR YOUR SKIN

I have all of these leftover essential oils I bought for the beard oil, so let's use them.

BALM


Things you'll need:

Coconut oil
5 drops of Lavender oil
5 drops of Rosewood oil
5 drops of Oak moss oil
5 drops of Tea tree oil
5 Vitamin E capsules
Small chunk of raw Shea butter
Beeswax
Empty containers


Step 1:
Shred your beeswax.
I used my cheese grater.


Step 2:

Melt 3 tablespoons of the coconut oil over medium-low heat.


After the coconut oil has melted add the beeswax.
Small amounts at a time.
This will determine the consistency of your balm; so start with a small amount.
Dip a spoon in the mixture and see how hard it gets after it cools.


Step3:
Add the Shea butter and stir until melted.
Now you add your essential oils.  If you search online you can find the benefits
of different oils & then determine which are best for your
skin type.


Pop the Vitamin E capsules with a pin and squeeze them out into the balm mixture.


Step 4:
Pour the mixture into a designated tin. I found mine on Etsy.
(those chunks in the mixture is actually orange peel from my grater... guess I
suck at cleaning things)


Step 5:
Time to let them cool, you can either leave them to cool on your counter or
for a speedy cool down put them in your fridge for about 5 minutes.


Now to prove how good balms are here is a clip of greatness:

Sunday, March 2, 2014

CINNAMON & SPICE

Well, it seems like I'm getting the hang of baking cookies.
I haven't screwed up in a while.
I guess old dogs CAN learn new tricks.


This is the first time I have made snicker doodles...in fact I think
I have only had them once. I'm kind of a cookie jerk; if it's not chocolate,
I don't want it. I'm slowly learning to enjoy other types of sweets
other than chocolate...although chocolate will always be my #1. 

Ingredients:

2 3/4 cups of flour
2 tsp of baking powder
1/2 tsp of salt
2 sticks of butter, room temperature
1 1/2 cups of sugar
2 eggs

set aside a mixture of :
2 tablespoons of sugar
2 tablespoons of cinnamon


Directions:

Preheat oven to 350

In a medium sized bowl mix together the butter and the sugar until
fluffy. 


Then mix in the eggs on a low setting.


Add the dry ingredients directly into the butter mixture.
Add small amounts at a time.


Time to get out your mixture of cinnamon & sugar.
Now comes the fun part, form the dough into balls, and 
roll them around in your cinnamon mixture.


Space 3 inches apart on a lined baking sheet.
(Don't they look like cinnamon Munchkins from Dunkin Donuts?)
I was really tempted to pop one in my mouth...but instead used my will power and said
"Lauren, you're watching your weight... just lick the bowl clean instead."


Bake the cookies for 13 minutes exactly, try to let them cool before you eat them all.


5 out of 5

Taste Testers:

LAUREN: I mean... they are pretty good. They are NOT as good as every other chocolate cookie in the world. They are a good alternative though. 
CJ:  What can I say?  These are super solid Snickerdoodles. Great flavor and perfect texture.