Wednesday, May 21, 2014

MY LITTLE TROPICAL

YES, its spring!!!! 
And I am obsessing over plants.
Im turning into a cat lady... but with plants.
Since terrariums seem to be the latest fad, and I'm too broke to buy one,
I decided to do the next best thing. 
BELL JAR!!!

This is going to be the easiest DIY blog ever.

I went to Hobby Lobby and got the majority of my supplies, the bell jar & the base.
If you decide to replicate this project don't forget to print out a Hobby Lobby
coupon. 40% off 1 item.
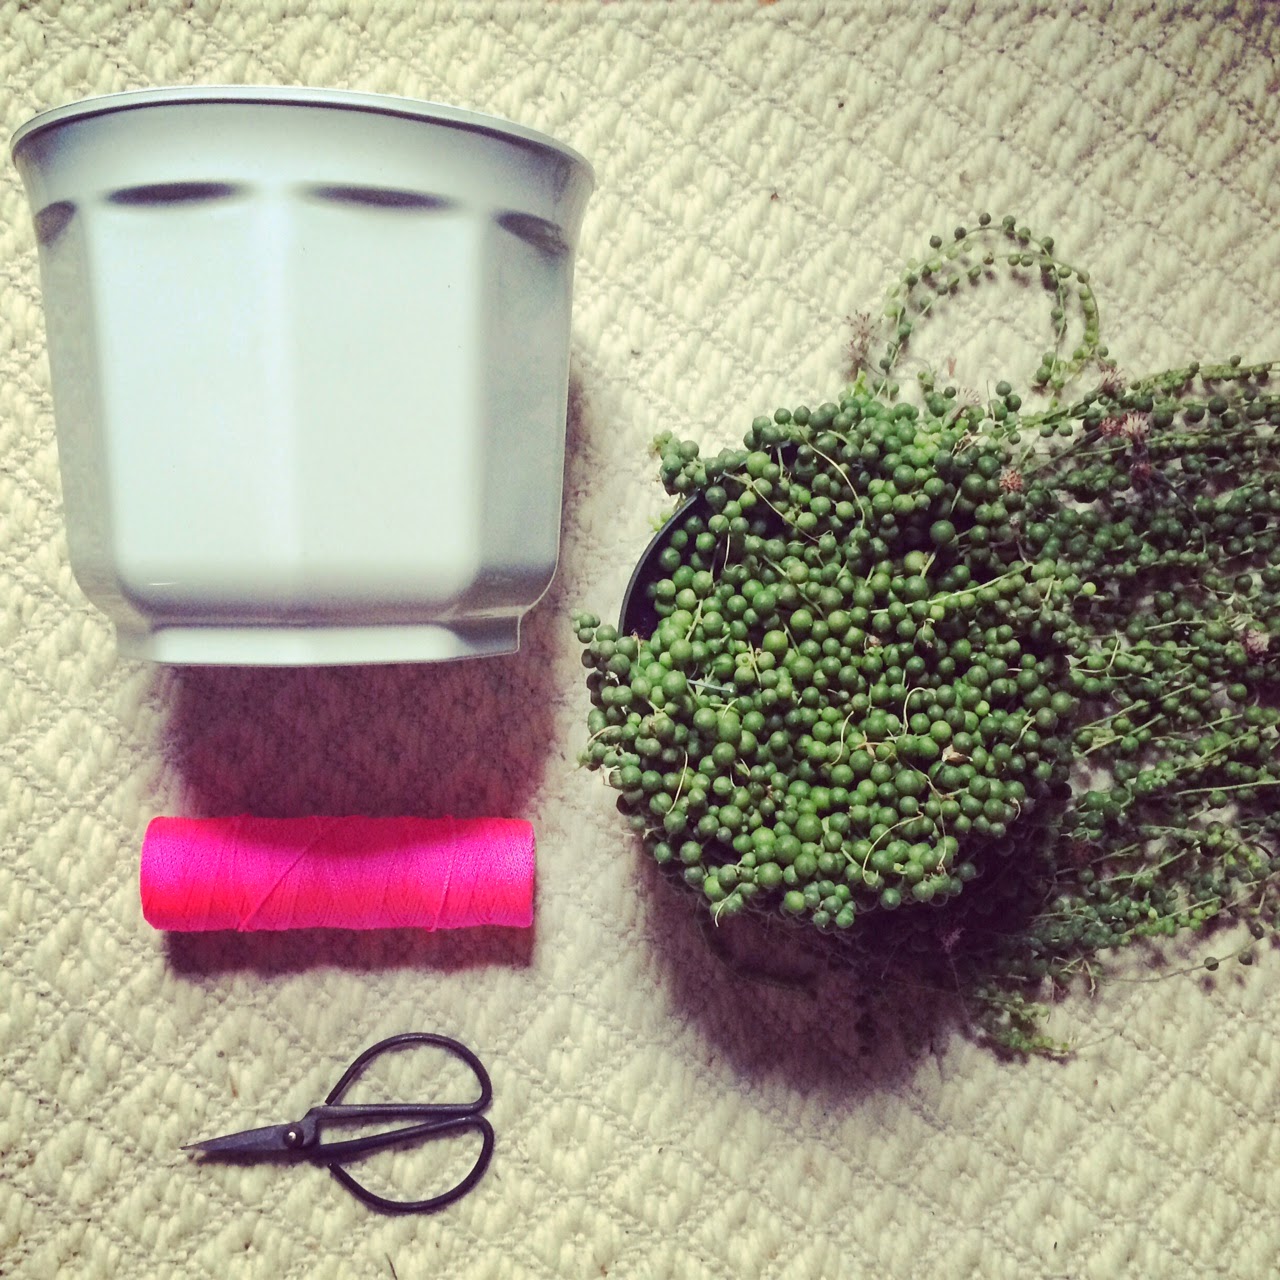
I had the white spray paint and small pot already.
For the plant I went to my local nursery.


I chose a tropical plant that can endure the humidity of the bell jar.


I didn't like the color of the base; I wanted it white to match the rest of my house.
So I took some of my husband's spray paint and I went to town.  He says Rusto is like holding three shit brands in your hand.


 I had to do 2 coats of paint...and I still missed some spots.


 A day later after all the paint has dried I finished my project.
I repotted my little tropical into a slightly bigger pot.  Big enough so it can grow, but small 
enough so it will fit inside the bell jar.


Once you have repotted your plant, place it inside the bell jar.
BAM!!!
You're finished.


Try to give your plant about an hour of fresh air a day, to prevent mold.


Wednesday, May 7, 2014

MACRAME SUCCULENT


I've had my eye on a particular succulent at my local nursery for a hot minute.
The String of Pearls.
When I decided that I wanted it, I thought of places it should go & 
how I wanted to display it.
I did a little research & found amazing macrame rope hangers.
So, I decided to make one.


Things you will need:
1 pot
1 indoor plant
Pair of scissors
50 feet of Nylon or Cotton Rope
Ruler
Hook for the ceiling


Cut eight pieces of the rope. Each piece should be around 6 feet long, depending on 
how low or high you want to hang your plant.


Take the eight pieces of rope together and tie a knot at one
of the ends, leaving a couple of inches of excess at the top.


Separate the ropes into 4 sections, 2 pieces per section. 
About an inch and a half down from your first knot, tie a knot in each section of 2 ropes.


There should be 4 knots total.


Now, take the left piece of each rope & match it with the right rope of the closest section.
Then about another inch and a half tie another knot with those pieces.


Tie the remaining loose ends and tie those together. This will now be the start to the 
cradle net you are making for the pot.

This is when all the rope started getting confusing to me, so I put the pot in its place 
to help me out.


Once I put the pot in place everything made more sense & I tied
one more rows of knots the same way as the last time.

Once you are finished with your knots take all the strings and tie them into a knot
at the desired length. Before I made my final knot I added a few circle beads for 
a little added sass. 
Now its time to re-pot your plant in its new 
container. 

Have your husband/boyfriend/girlfriend/mom/dad or if you 
are not clumsy you can do it yourself... drill a spot for a hook into your ceiling.


Now you can admire your newest addition/